WiFi Settings
Essentials for your WiFi Router
Times are changing, and so are the ways of working. The era when only trained professionals would possess technical expertise has passed. Now, technology is involved in every aspect of our lives, and learning a few handy tricks is vital.
Why should you be interested?
As users, we want to easily control our products, utilizing their capabilities to their full extent. This is also the case with the Internet. We all need to know how to secure our networks, how we can increase our speeds, and what methods we can take to put some content filtration on for our kids' protection. All these aspects are making people more interested in exploring routers. We congratulate you for being one of them. If you are not from a technical background, don't panic! Trust us; we will make it easy to understand.
It’s confusing, is it a Router, Modem or CPE?
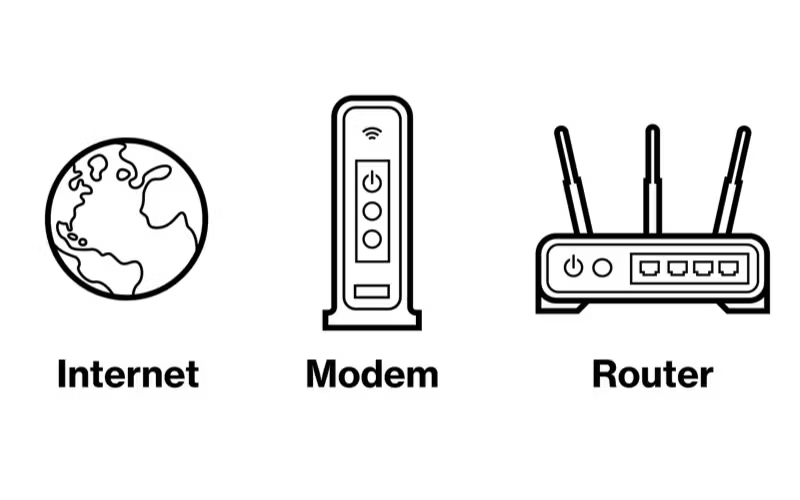
We understand it must be complicated when someone is referring to a Router as Modem or CPE. In fact, the list doesn’t finish here. There are many other devices that fall into the same category like CPE (Customer Premises Equipment), ONU (Optical Network Unit), ONT (Optical Network Terminal), HAG (Home Access Gateway), Broadband Router, DSL (Digital Subscriber Line) Router, Wi-Fi Router, Wi-Fi Extender or a Wi-Fi Bridge etc.
Although these devices vary from each other in some aspects, the core concepts remain the same. In this article, we’ll be referring to all these devices as “Router”. The focus of this article will be to provide a step-by-step guide on how to configure different router settings.
How to find the URL/IP address to login to your router?
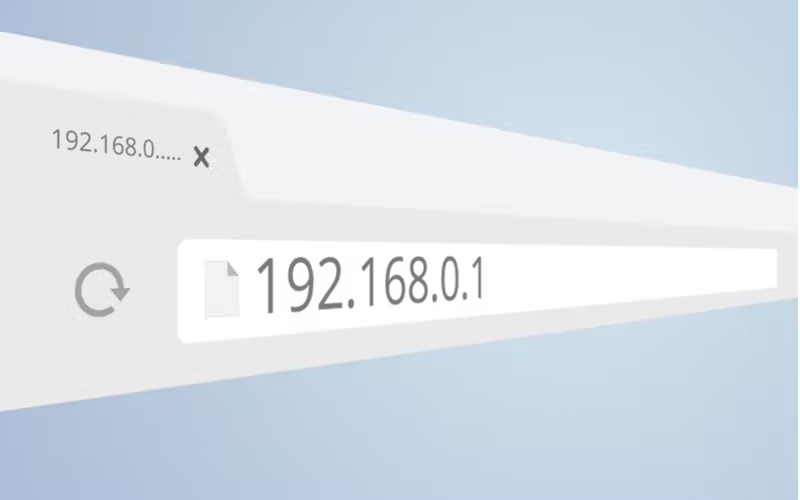
Normally, the Link or URL is represented by the default gateway IP Address of your Wi-Fi Network. It’s the IP that you enter to access the management console of the router. If you are already connected with your Wi-Fi network, you need to know the default gateway IP Address. To do so, you can opt for either of the following options.
Option 1
- Open properties of internet connection and find the network properties. For example, in Windows 10 you can go to “Open Network and Internet Settings”, this will open a window with a status tab.
- Move to status tab and open “View your network properties”, in there you can find the properties of your network adaptors.
- Look for the default gateway IP Address, that’s the IP we need.
Option 2
You can also use command prompt to know the default gateway IP Address
- Run “Cmd”
- Enter the command “ipconfig”
- Look for default gateway IP address
How to find the default credentials for your router?
#1: Check the Modem Backside
Check the backside of your modem/router. Companies normally put the username and password, SSID (Network Name) and other details on the modem.
#2: Check on ISP Website
Most probably you get the modem from the Internet Service Provider(ISP), you can go to their website and they may have some information about the default username and password on their website. It works in most of the cases.
#3: Check Modem User Manual
When you get the modem, they come with a manual. There are healthy chances that this manual will contain the details.
#4: Check on the other Sites
You can simply note the model of your modem and the result will show up. As an example, I have added the default credentials for the following vendors.
D-Link : username: admin password: (blank)
NetGear : username: admin password: password
Huawei: username: telecomadmin password: admintelecom
TP-Link: username: admin password: admin
Cisco: username: admin password: admin
How to log in to your router/modem?
If you are new to Routers, this will probably be the first question on your mind. Well, you are not the only one! There are a few ways to configure routers, but we’ll proceed with the easiest one, the one that doesn’t require any commands or pre-requisite knowledge. Almost every router we see in homes comes with an easy to use Graphical User Interface (GUI) based management console.
Logging into your router requires the following steps
- Open any internet browser of your choice.
- Enter the default gateway IP address of your router. (If you don’t know the default gateway, kindly follow the steps in “How to find the login URL/IP Address of your Router”).
- Enter username password (if you don’t know your default credentials kindly follow the steps in “Finding Login Credentials for Router”).
- If you see the page with a username and password prompt, congratulations! You are in.
How to reset the password of your router?

As the administrator, only you would like the power to log in and make configuration changes to your Network. As seen above, the router comes with a default username and password that can be found online. If someone is able to identify your router model, they can simply find these credentials on the internet. It is always recommended to change these default settings.
These steps show how this can be achieved
- Login into your router
- Look for Modify Login Password or Change Password; mostly it would be found in “Security” or “System” Settings menu.
- Provide the existing password
- Give the new password
- Confirm the new password
- Save and Close the configuration.
Try to keep your password a combination of capital letters (A-Z), lower case (a-z), numerical (0-9) and special characters like (_,-,$ etc). Most routers require the password to be a minimum of 8 characters up to 32 characters as a maximum.
How to change the name/SSID of your router?
Service Set Identifier (SSID) is actually the name of your wireless network. This is the same name which will be used to connect with your network. By default, SSID value is given by the provider and normally contains the name of provider or model of the device. You may want to change this name and make it more meaningful.
Change the router’s SSID very easily by following the below steps
- Login to your router.
- Look for WLAN settings and modify the SSID Name
- We can also opt to hide your SSID so people don’t even know about the existence of your router. Note: Even if the SSID is not broadcasted, another user can connect to the network if he knows the exact SSID.
- Save the settings and close.
How to configure another Name/SSID in your router?
Many devices also can support multiple networks/SSID. These can be used to define different networks for security reasons or to apply some rules and policies on networks. For example, you can define a Network SSID called “for-Kids” and then put some restrictions on some particular websites and another for “Guests” to give them access to all of the network.
- Login to your router.
- Look for WLAN settings and add a new SSID
- Select the name of SSID
- Select the authentication method
- Enter the WPA-PreShared Key
- Define maximum number of users that can be connected with the Wi-Fi network
- Save the settings and close.
How to change Wi-Fi band and channel settings?

Wi-Fi is actually an IEEE Standard (802.11) for Wireless LAN. It can work in two different ranges of frequency, i.e., 2.4GHz and 5GHz, these frequency bands are then broken into smaller pieces called channels. Although these bands serve the same purpose, there are some technical differences in both. 2.4G band offers a large coverage area, but comparatively less speed. On the other hand, the 5G band offers low coverage areas but high speed, which makes it a preferable choice for video streaming, online gaming, etc.
Follow the below steps to change the WiFi settings
- Login to your Router
- In the WLAN Section, look for 2.4G or 5G advanced settings.
- Specify the Channel number to be used, 2.4G supports less channels as compared to 5G which can support up-to 23 channels.
- You can also specify the width/bandwidth of channel. If you are not sure of these configurations, the best call is to keep all these settings on “Automatic” mode.
- Save the settings and close.
If you are not sure of the settings for channels or channel width and modes, the best idea is to keep it automatic so the router may decide for itself based on the situation.
How to enable parental control on router?

With the internet being easily available and games being online, children’s screen time has increased exponentially. In such scenarios, parental control comes into play to relieve parents' worries. Parental control can help parents in two ways: first, it limits the internet usage time and secondly it helps in the blockage of inappropriate content. Parental control templates can be created and associated with particular devices on the basis of their MAC (Media Access Control) Address.
MAC is a unique identifier for a particular device which can help in blocking internet traffic.
- Log in to your Router
- In Security Settings, look for Parental Control.
- Define a template by specifying the surfing time-limits and prohibited websites.
- Once a template has been created, it can be assigned to device(s) based on their MAC address.
- Save the settings
How to know who is connected to your router?

Sometimes we share our Wi-Fi key with people around us, and they use it for the time being. There is a strong possibility that they may also share this key with someone else who is within range of your Wi-Fi network, or someone might guess your WPA key. This can lead to a slowing down of your internet speed due to someone else consuming the high bandwidth. Additionally, this also poses a security risk as that person can play around with your router configuration.
It is strongly suggested to frequently check that all devices connected to your Wi-Fi Networks are known to you - you may wish to block any unknown device. Following these simple steps will help you do so.
- Login to your router
- Look for User Device Information in WAN Settings and you’ll find something similar.
- It lists all the devices that are connected or disconnected. You’ll be able to see their name, MAC Address, IP, current status and other parameters that can help you identify the devices. Once unknown devices have been recognized, you can disconnect them using the same console.
- You can also drill-down into their details for how long they have been connected, what is their general usage or if they are consuming high speed.
- As the next step, you can also highlight these users in a black-list or Access Control List(ACL) on your router.
You can also control the maximum number of devices by putting up a threshold for the “Number of Associated Device” in WLAN Settings.
How to change the WPA key for your router?
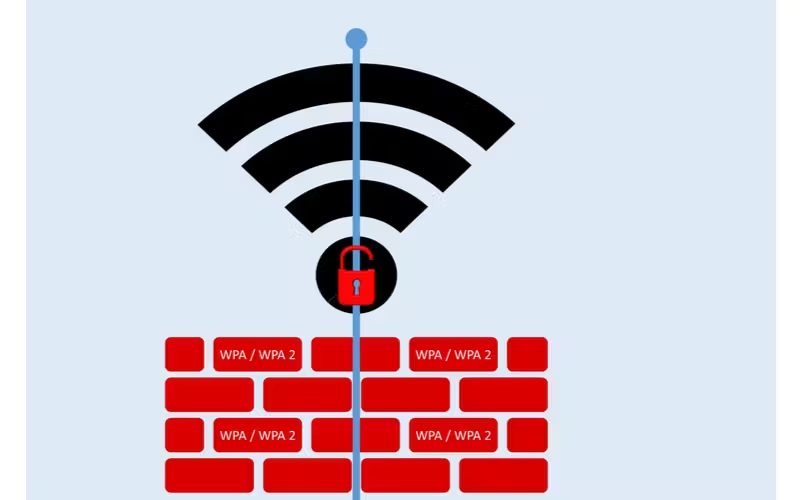
First of all, we need to understand what is a WPA-Key? Wifi Protected Access (WPA) is a mechanism that controls the security aspect of wireless networks. It requires a key called a “WPA-Key”. We can say that it’s the password we enter or share with others in order for them to connect with our Wi-Fi network.
Please note that this key is different than the admin credentials (username, password) used to enter the management console of your router.
For security reasons, it’s a good idea to keep changing this key; it can be done by following the below steps.
- Login to your Router
- Look for WLAN Settings, once you find the WLAN component
- Select the relevant authentication mode, we recommend using (WPA/WPA2 PresharedKey)
- Enter the WPASecurityKey that you want users to enter in order to connect to your network.
- Save the configuration
Once you change the WPA key, all the connected users will be disconnected and they’ll have to enter the new key in order to use the internet.
Closing Thoughts
So there you have it, all the essentials of your Wifi router laid out in an easy to understand fashion. Next time you have a problem with an IP address, parental controls, or WPA keys, remember to pay us another visit!
